Preparing for Your Level 2 Origym Assessment
Reading time: 8 minutes
How I Passed (and How You Can Too)
When I first wrote this post in October 2024, I was preparing for my Level 2 Origym Personal Training Assessment (Gym Instructing) and was completely overwhelmed.
I didn’t know where to start, what to prioritise, or how to retain so much information without burning out. So I made a set of simplified tables to help me revise; breaking down key stretches, training methods, and exertion scales in a way that made sense to me.
This updated version includes everything that helped me, plus what I’ve learned since becoming a qualified Personal Trainer.
Updated 2026: Since publishing this guide in 2024, it's helped dozens of trainee PTs pass their assessments. One reader even booked a mock practical with me after using these tables to prepare!
Dynamic Stretches (Warm-Up)
Dynamic Chest Stretch
Lunge With Twist
Squat To Overhead Reach
Posterior Step with Overhead Reach
Squat to Overhead Reach and Twist
Static Stretches (Cool-Down)
Upper Body: Tricep, Bicep, Deltoid, Erector Spinae, Latissimus Dorsi, Trapezius & Rhomboid, Pectoral
Lower Body: Hip Flexor, Quadricep (Lying/Standing), Hamstring, Gastrocnemius, Gluteal, Oblique/Abductor, Adductor
Power and Strength Training
The Power Pyramid and Power Grid tables offer a breakdown of rest periods, repetitions, and sets based on your training goal, whether it’s power, strength, hypertrophy, endurance, or stability. Helping you adjust your workout intensity to align with each training objective.
Power Pyramid: Structured to develop a range of goals with varying rest times, reps, and %1RM.
Power Grid: Offers similar insight but with a more detailed approach to reps, rest, and %1RM. I’m not sure this is needed as it seems to reference the Power Pyramid, but it does form part of the downloads for the practical assessment.
Power and Strength Pyramid
| System | Rest | Reps | Sets | %1RM |
|---|---|---|---|---|
| Power | 4–5 min | 1–3 | 5–6 | 95–100% |
| Strength | 2–4 min | 3–6 | 4–5 | 80–95% |
| Hypertrophy | 1–2 min | 6–12 | 3–4 | 65–80% |
| Endurance | 30–60 sec | 12–20 | 2–3 | 60–65% |
| Stability | 0–30 sec | 18–25 | 1–2 | <50% |
Power Grid
| System | Rest | Reps | Sets | %1RM |
|---|---|---|---|---|
| Power | 5 min | 1–2 | 6 | 95–100% |
| Strength | 4–5 min | 2–3 | 5 | 90–95% |
| Strength | 3–4 min | 3–5 | 5 | 85–90% |
| Strength–Hypertrophy | 2–3 min | 5–6 | 4 | 80–85% |
| Hypertrophy | 2 min | 6–8 | 4 | 75–80% |
| Hypertrophy | 90s–2 min | 6–8 | 3 | 70–75% |
| Hypertrophy/Endurance | 60s–90s | 8–10 | 3 | 65–70% |
| Endurance | 1 min | 10–12 | 3 | 60–65% |
| Endurance | 45s–60s | 12–18 | 2 | 55–60% |
| Stability | 30s–45s | 18–20 | 2 | 50–55% |
| Stability | 0–30s | 20–25 | 1 | <50% |
Pro Tip: Don't try to memorise these tables verbatim. Understand the pattern: as intensity increases, rest increases and reps decrease. Once you understand the logic, the numbers make sense!
Lift List (All Exercises)
| Exercise | Type | Classification |
|---|---|---|
| Triceps | ||
| Lying Tricep Extensions | Fixed/Free | Iso |
| Close Grip Tricep Press | Free | Comp |
| Seated Tricep Push Down | Fixed | Comp |
| Triceps Push Down | Fixed/Free | Iso |
| Biceps | ||
| Cable Bicep Curl | Fixed | Iso |
| Dumbbell Bicep Curl | Free | Iso |
| Bicep Body Row | Body | Comp |
| Machine Bicep Curl | Fixed | Iso |
| Deltoids | ||
| Lateral Raise | Fixed/Free | Iso |
| Upright Row | Free | Comp |
| Seated Shoulder Press | Fixed/Free | Comp |
| Standing Overhead Press | Free | Comp |
| Rear Deltoid Fly | Fixed/Free | Iso |
| Pectorals | ||
| Seated Chest Press | Fixed | Comp |
| Chest Fly | Fixed/Free | Iso |
| Pec Deck Fly | Fixed | Iso |
| Press Ups | Body | Comp |
| Latissimus Dorsi | ||
| Lat Pull Down | Fixed | Comp |
| Chin Ups/Pull Ups | Fixed/Body | Comp |
| Assisted Pull Up | Fixed/Body | Comp |
| Cable Pushdown | Fixed | Iso |
| Trapezius | ||
| Machine Seated Row - Pronated | Fixed | Comp |
| Dumbbell Single Arm Row | Free | Comp |
| Machine Seated Row - Neutral | Fixed | Comp |
| Inverted Body Row | Body | Comp |
| Cable Seated Row - Supinated | Fixed | Comp |
| Rhomboid | ||
| Standing Cable Rear Crossover | Fixed | Iso |
| Dumbbell Reverse Fly | Free | Iso |
| Legs | ||
| Squat | Free/Body | Comp |
| Lunge | Free/Body | Comp |
| 45° Leg Press | Fixed | Comp |
| Deadlift | Free | Comp |
| Glute Kickbacks | Body | Iso |
| Glute-Ham Raise | Fixed/Body | Iso |
| Glute Bridge | Body | Iso |
| Seated Leg Curl | Fixed | Iso |
| Lying Leg Curl | Fixed | Iso |
| Back Squat | Free | Comp |
| Leg Press | Fixed | Comp |
| Leg Extension | Fixed | Iso |
| Gastrocnemius & Soleus | ||
| Seated Calf Raise | Fixed | Comp |
| Standing Calf Raise (Supported) | Body | Iso |
| Standing Calf Raise | Fixed/Free/Body | Iso |
| Abductors and Adductors | ||
| Total Hip Machine | Fixed | Iso |
| Seated Hip Abduction | Fixed | Iso |
| Seated Hip Adduction | Fixed | Iso |
| Sumo Squat | Free/Body | Comp |
| Rectus Abdominus & Erector Spinae | ||
| Abdominal Curl | Body | Comp |
| Seated Abdominal Crunch | Fixed | Comp |
| Seated Back Extension | Fixed | Iso |
| Obliques & Hip Flexors | ||
| Flutter Kicks | Body | Iso |
| Bicycle Crunch | Body | Comp |
| Cable Wood Chop | Fixed | Comp |
CV Training Methods
1. Aerobic Curve (Long Slow Distance)
Low intensity, high volume. Used for conditioning below 80% of maximum heart rate.
2. Intervals
Alternate 100% work with 30% recovery. This demonstrates understanding of aerobic and anaerobic systems.
CV Training Methods: Aerobic Curve
This is long, slow distance training that is high volume and low intensity. Typically used in the off-season for conditioning at a low heart rate of less than 80% of max heart rate.
| Time | RPE |
|---|---|
| 1m | 3 |
| 2m | 3–4 |
| 3m | 4 |
| 4m | 5 |
| 5m | 6 |
| 6m | 6.5 |
| 7m | 7 |
| 8m | 7 |
| 9m | 7 |
| 10m | 7 |
| 11m | 7 |
| 12m | 7.5 |
| 13m | 8 |
| 14m | 8.5 |
| 15m | 9 |
| 16m | 8.5 |
| 17m | 8 |
| 18m | 7.5 |
| 19m | 7 |
| 20m | 6 |
CV Training Methods: Intervals
This protocol uses 10 intervals alternating high effort and recovery. Each “working” bout is performed at 100% effort, followed by recovery at 30% intensity.
| Interval | Time | % of Intensity |
|---|---|---|
| 1 – working | 1m | 100 |
| 1 – rest | 2m | 30 |
| 2 – working | 3m | 100 |
| 2 – rest | 4m | 30 |
| 3 – working | 5m | 100 |
| 3 – rest | 6m | 30 |
| 4 – working | 7m | 100 |
| 4 – rest | 8m | 30 |
| 5 – working | 9m | 100 |
| 5 – rest | 10m | 30 |
| 6 – working | 11m | 100 |
| 6 – rest | 12m | 30 |
| 7 – working | 13m | 100 |
| 7 – rest | 14m | 30 |
| 8 – working | 15m | 100 |
| 8 – rest | 16m | 30 |
| 9 – working | 17m | 100 |
| 9 – rest | 18m | 30 |
| 10 – working | 19m | 100 |
| 10 – rest | 20m | 30 |
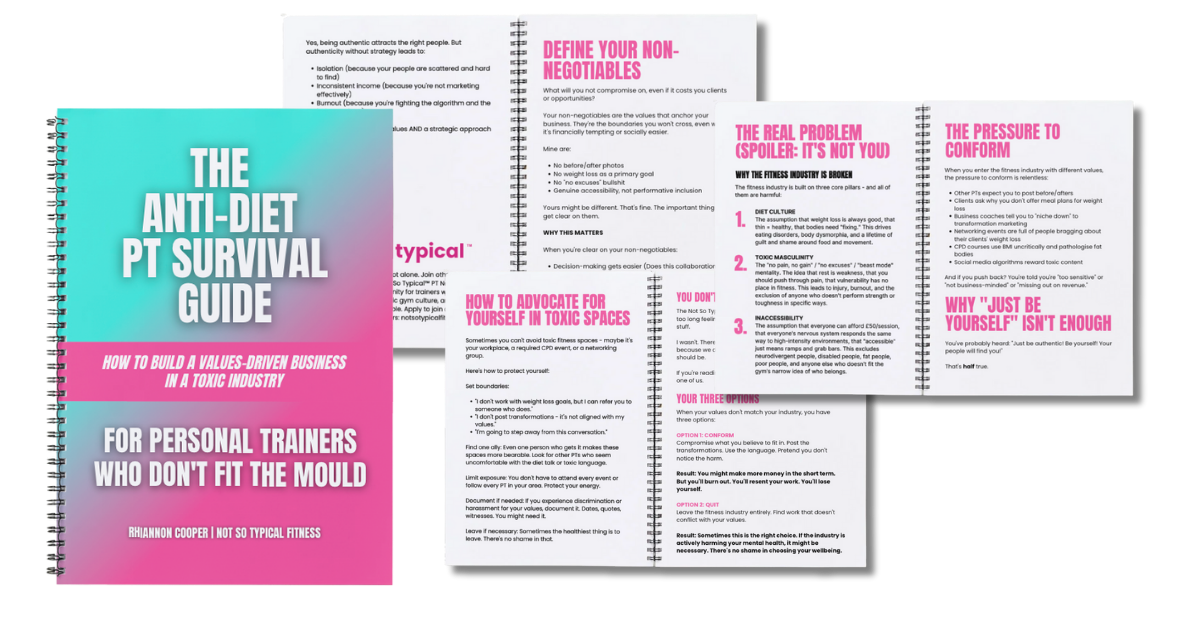
Building a Values-Driven PT Business?
Get the free Anti-Diet PT Survival Guide — for trainers who don't fit the mould.
Includes:
- ✓ How to define your non-negotiables
- ✓ Alternative language swap sheet (replace toxic fitness rhetoric)
- ✓ CPD vetting checklist (spot diet culture BS)
- ✓ Resource list for anti-diet, neuroinclusive PTs
- ✓ How to find your people
What I've Learned Since Passing
Looking back, I can see how much of the stress came from not knowing what was expected; and feeling like I was doing it alone. The truth is, the assessment is as much about demonstrating confidence and structure as it is about perfect technique.
If I could talk to my past self, I’d tell her:
You know more than you think.
You’re allowed to prepare in your own way.
What makes you different will eventually make you stand out as a coach.
Feeling isolated in your PT journey?
I get it. The stress of not knowing what's expected, feeling like you're doing it alone - that's exactly why I built the Not So Typical™ PT Network.
It's a community for trainee and newly qualified PTs who want peer support, accessible resources, and connection with trainers who share your values (anti-diet, anti-toxic culture, genuinely accessible).
Whether you're preparing for your assessment or building your first clients, you don't have to figure it out alone.
Frequently Asked Questions
What do I need to know for the OriGym Level 2 assessment?
You need to know dynamic and static stretches, the Power Pyramid and Power Grid (rest periods, reps, sets, and %1RM for different training goals), exercise classifications by muscle group, CV training methods including aerobic curve and intervals, and practical application of programming and client management.
How long does it take to prepare for the Level 2 PT assessment?
Preparation time varies, but most trainees spend 2-4 weeks revising the material. The key is understanding concepts rather than just memorising, and practicing practical demonstrations.
Is the OriGym Level 2 assessment difficult?
The assessment is manageable with proper preparation. It tests both theoretical knowledge and practical application. The stress often comes from not knowing what's expected rather than the difficulty of the material itself. Using structured revision tables and practicing demonstrations helps significantly.
What is the difference between the Power Pyramid and Power Grid?
The Power Pyramid provides a simplified breakdown of rest periods, reps, sets, and %1RM for five training systems (power, strength, hypertrophy, endurance, stability). The Power Grid offers more detailed progressions with additional sub-categories like strength-hypertrophy and hypertrophy-endurance.
Where can I find support as a trainee PT?
The Not So Typical PT Network provides community support for trainee and newly qualified PTs, especially those who are neurodivergent, anti-diet, or feel isolated in the fitness industry. Resources include peer support, revision materials, and connection with like-minded trainers.
Related Posts
Ongoing Support for Future Personal Trainers
Since publishing my original blog, I've heard from several people who've used these notes to pass their assessments. One person even booked a mock practical assessment with me in the gym after finding this post.
That feedback inspired me to build something bigger.
The Not So Typical™ PT Network is a community for trainee PTs, newly qualified trainers, and experienced professionals who want:
✓ Peer support from trainers who share your values
✓ A referral network you can actually trust
✓ Marketing templates and neuroinclusive resources
✓ Ongoing CPD from people who get it
✓ Connection with PTs who are anti-diet, anti-toxic culture, and genuinely accessible
Whether you're preparing for your assessment or building your PT business, you don't have to do it alone.